webOS 1 to 3 (Models B, C)
webOS 1 to 3 (Models B, C)
Application Version by webOS Version
| webOS Version | URL Address by System Version | Note |
|---|---|---|
| webOS 1 | https://w.signageos.io/1.zip | webOS 1 cannot play videos in portrait mode |
| webOS 2 | https://w.signageos.io/ | |
| webOS 3.x | https://w.signageos.io/ | These versions have issues with landscape video playback; you need to use rotated videos to achieve full resolution |
| webOS 4.0 | https://w.signageos.io/ |
Installation on webOS
Power on your display
Go through the basic settings - language, country, time zone - do not skip these settings

Continue with settings for orientation, network, timer on/off, etc. Skip or confirm default settings for display orientation and power timer
Hold the Settings button on the remote until a gray bubble with a chat icon appears in the top right corner


Enter 0000 on the remote and press OK -> in Signage Setup select Wake On LAN and set Wired - On and Wireless - On

In Signage Setup, select Power on status and choose PWR On from the options
Hold the Settings button again, wait for the bubble to appear, and this time enter 8080 and confirm with OK
In Server menu select
- Launch mode - LOCAL
- Fully qualified domain name = ON
- Address - Select from the list at the beginning of this article based on your webOS version
- Aplication type - IPK
- Upgrade - REMOTE
- Press CONFIRM

The signageOS application will download and install
Turn the panel off and on
After booting up, an icon will appear in the top right corner showing the status - Offline -> Reconnecting -> Loading
A 6-character verification hash will be displayed
Register the device in CMS
Once the device is set up this way, it can be packaged and shipped to the end customer, everything else can be done remotely
webOS 4.0 to 6.0
webOS 4.0 to 6.0
Installation instructions for webOS:
Turn on your display
Go to 'Go to Settings'

Connect the display to the internet (via cable or in the 'General' tab via WiFi)
In the 'General' tab, set the time and date ('Time & Date') to 'automatic' and set the time zone ('TIME ZONE')


In the 'General' tab - 'Power' turn off No Signal Power Off, No IR Power Off and DPM
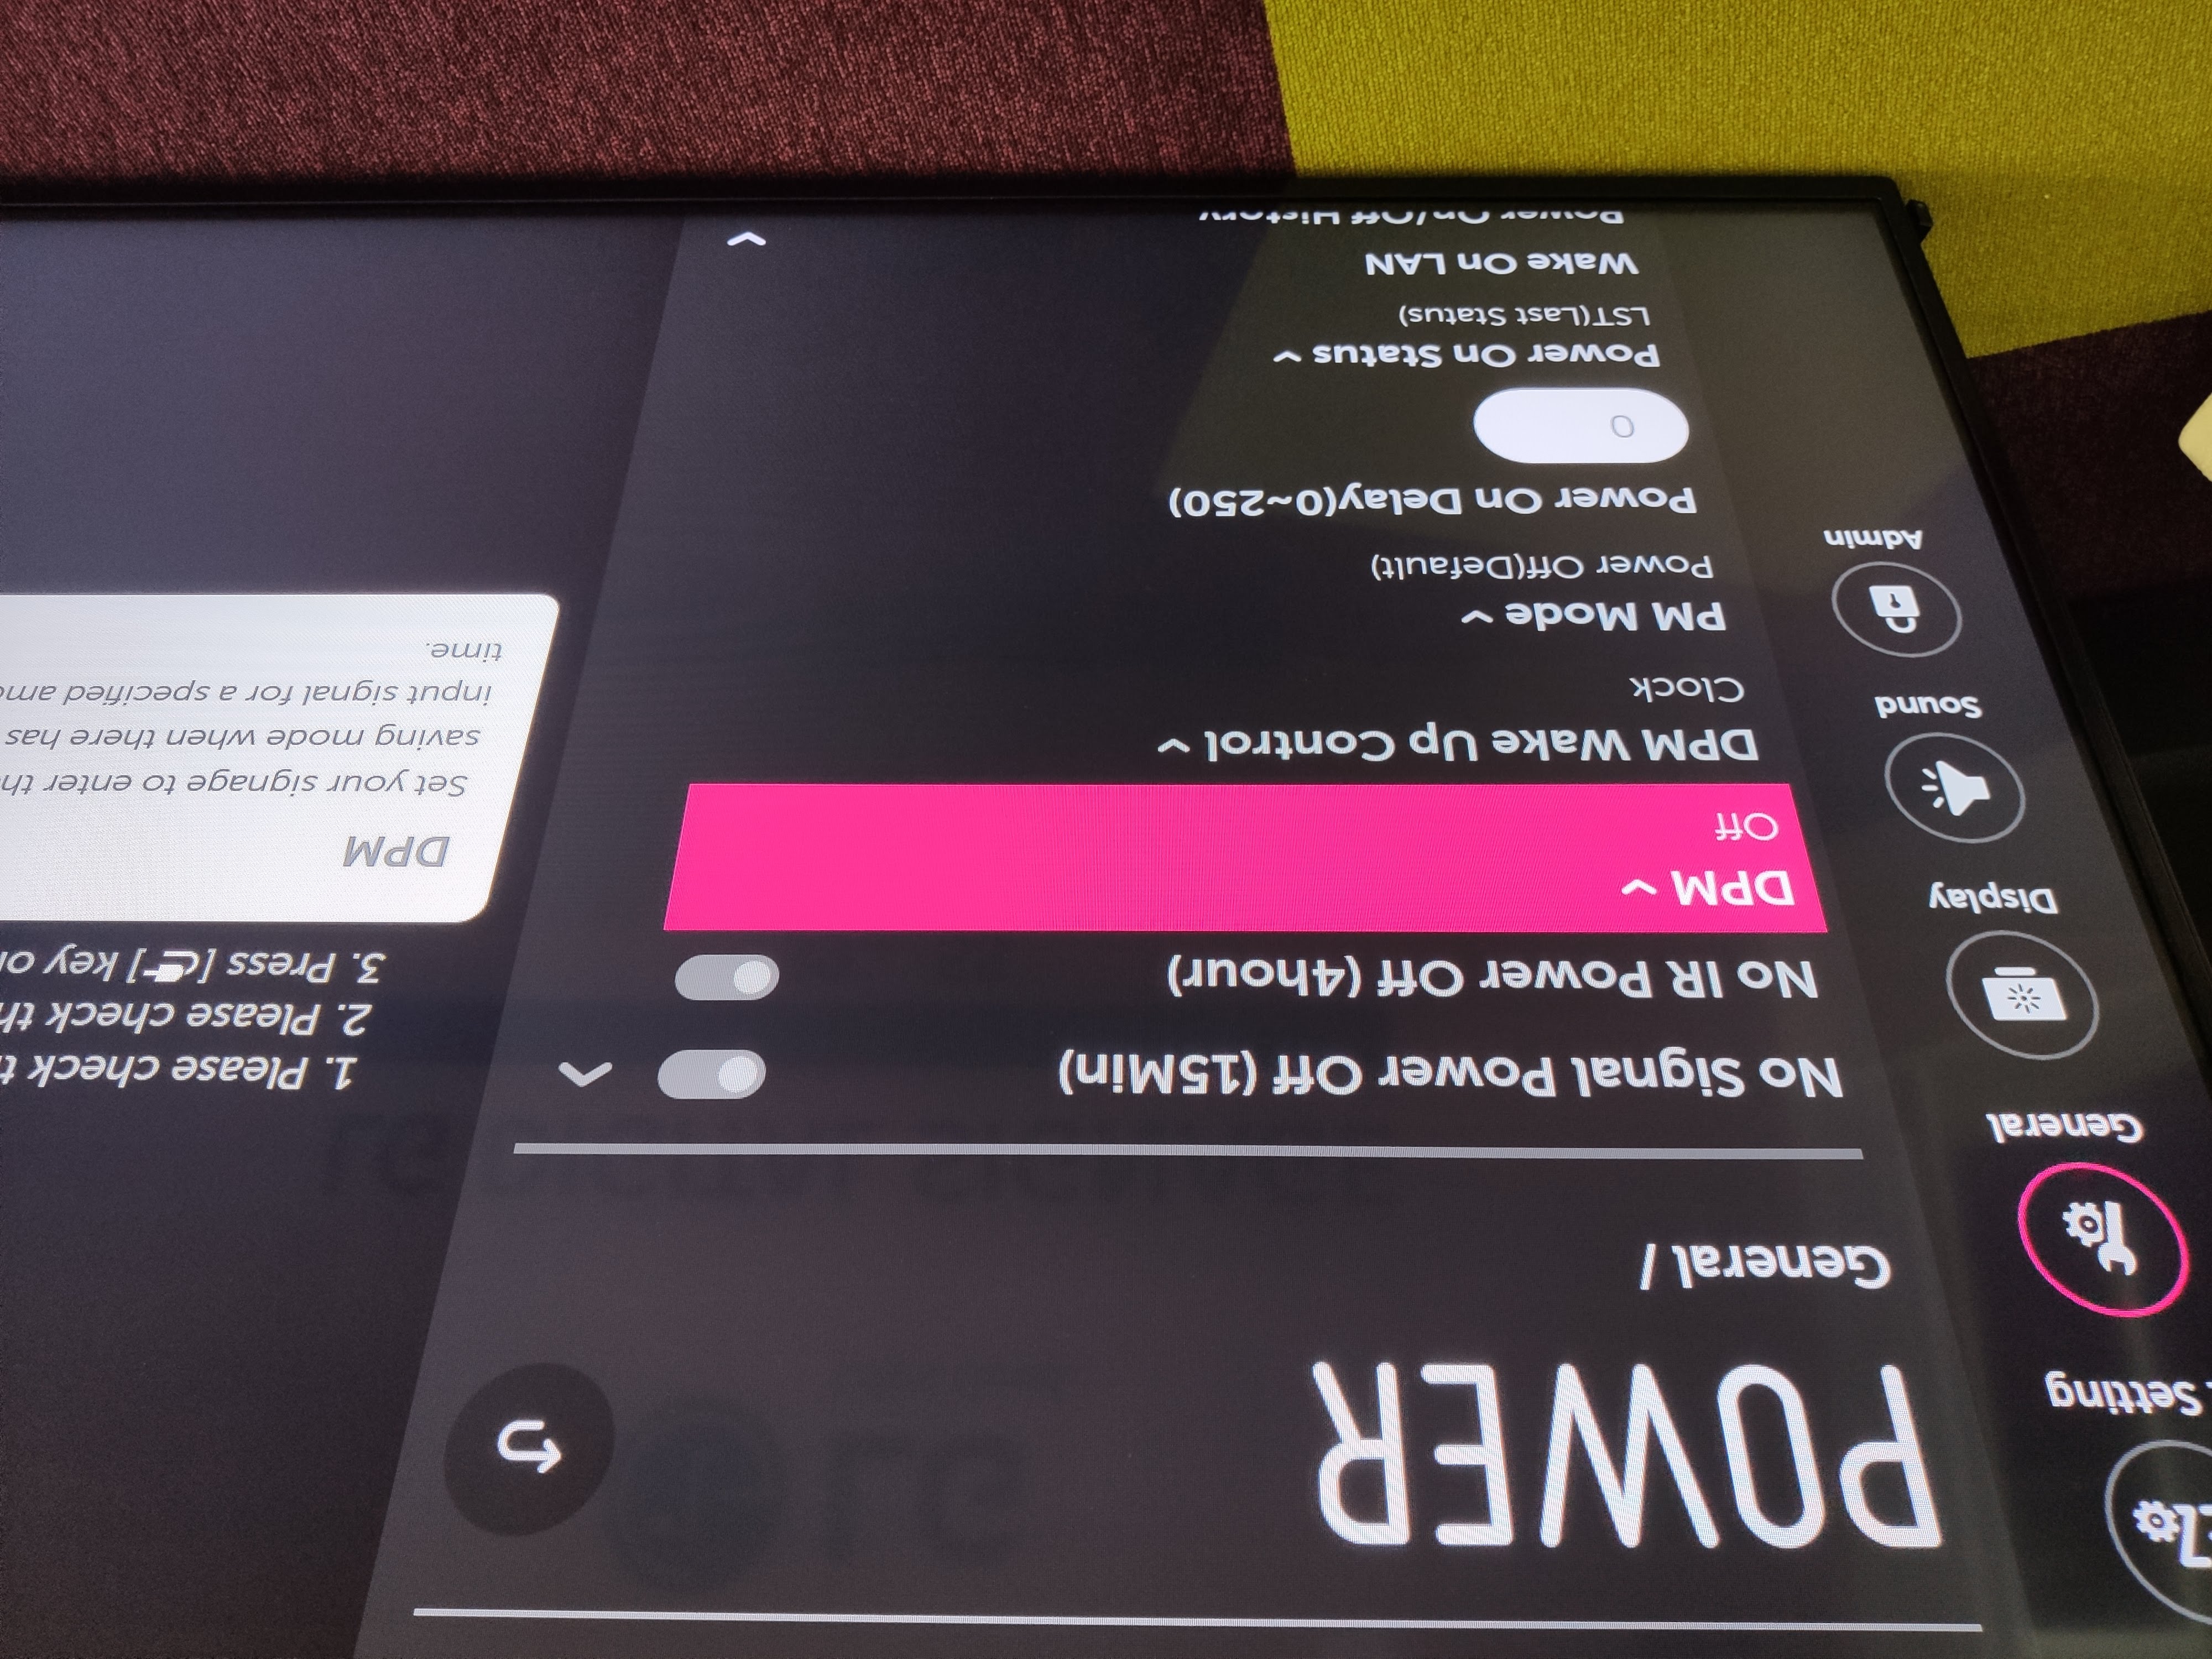
Then set 'Power On Status' to 'PWR(Power On)'

'Wake On LAN' turn on both (Wired and Wireless)

In 'Ez Setting' go to 'SI Server Setting'

Continue again to 'SI Server Setting'

Set
- Fully Qualified Domain Name - ON
- Enter the web address from the list at the beginning of this article according to your webOS version
- Application Launch Mode - Local
- Aplication type - IPK
- Local Application Upgrade - REMOTE
- Press CONFIRM

The signageOS application will download and install
Turn the display off and on
After booting up, an icon will appear in the top right corner showing the status - Offline -> Reconnecting -> Loading
A 6-character verification hash will be displayed
Register the device in CMS
Once the device is set up this way, it can be packaged and sent to the end customer, everything else can be done remotely