Samsung Tizen (F-line, H-line, Q-line, N-line)
Samsung Tizen (F-line, H-line, Q-line, N-line)
Installation steps
Important:Turn on display, go through basic settings (clocks, WiFi settings etc.) and switch source to HDMI or PC
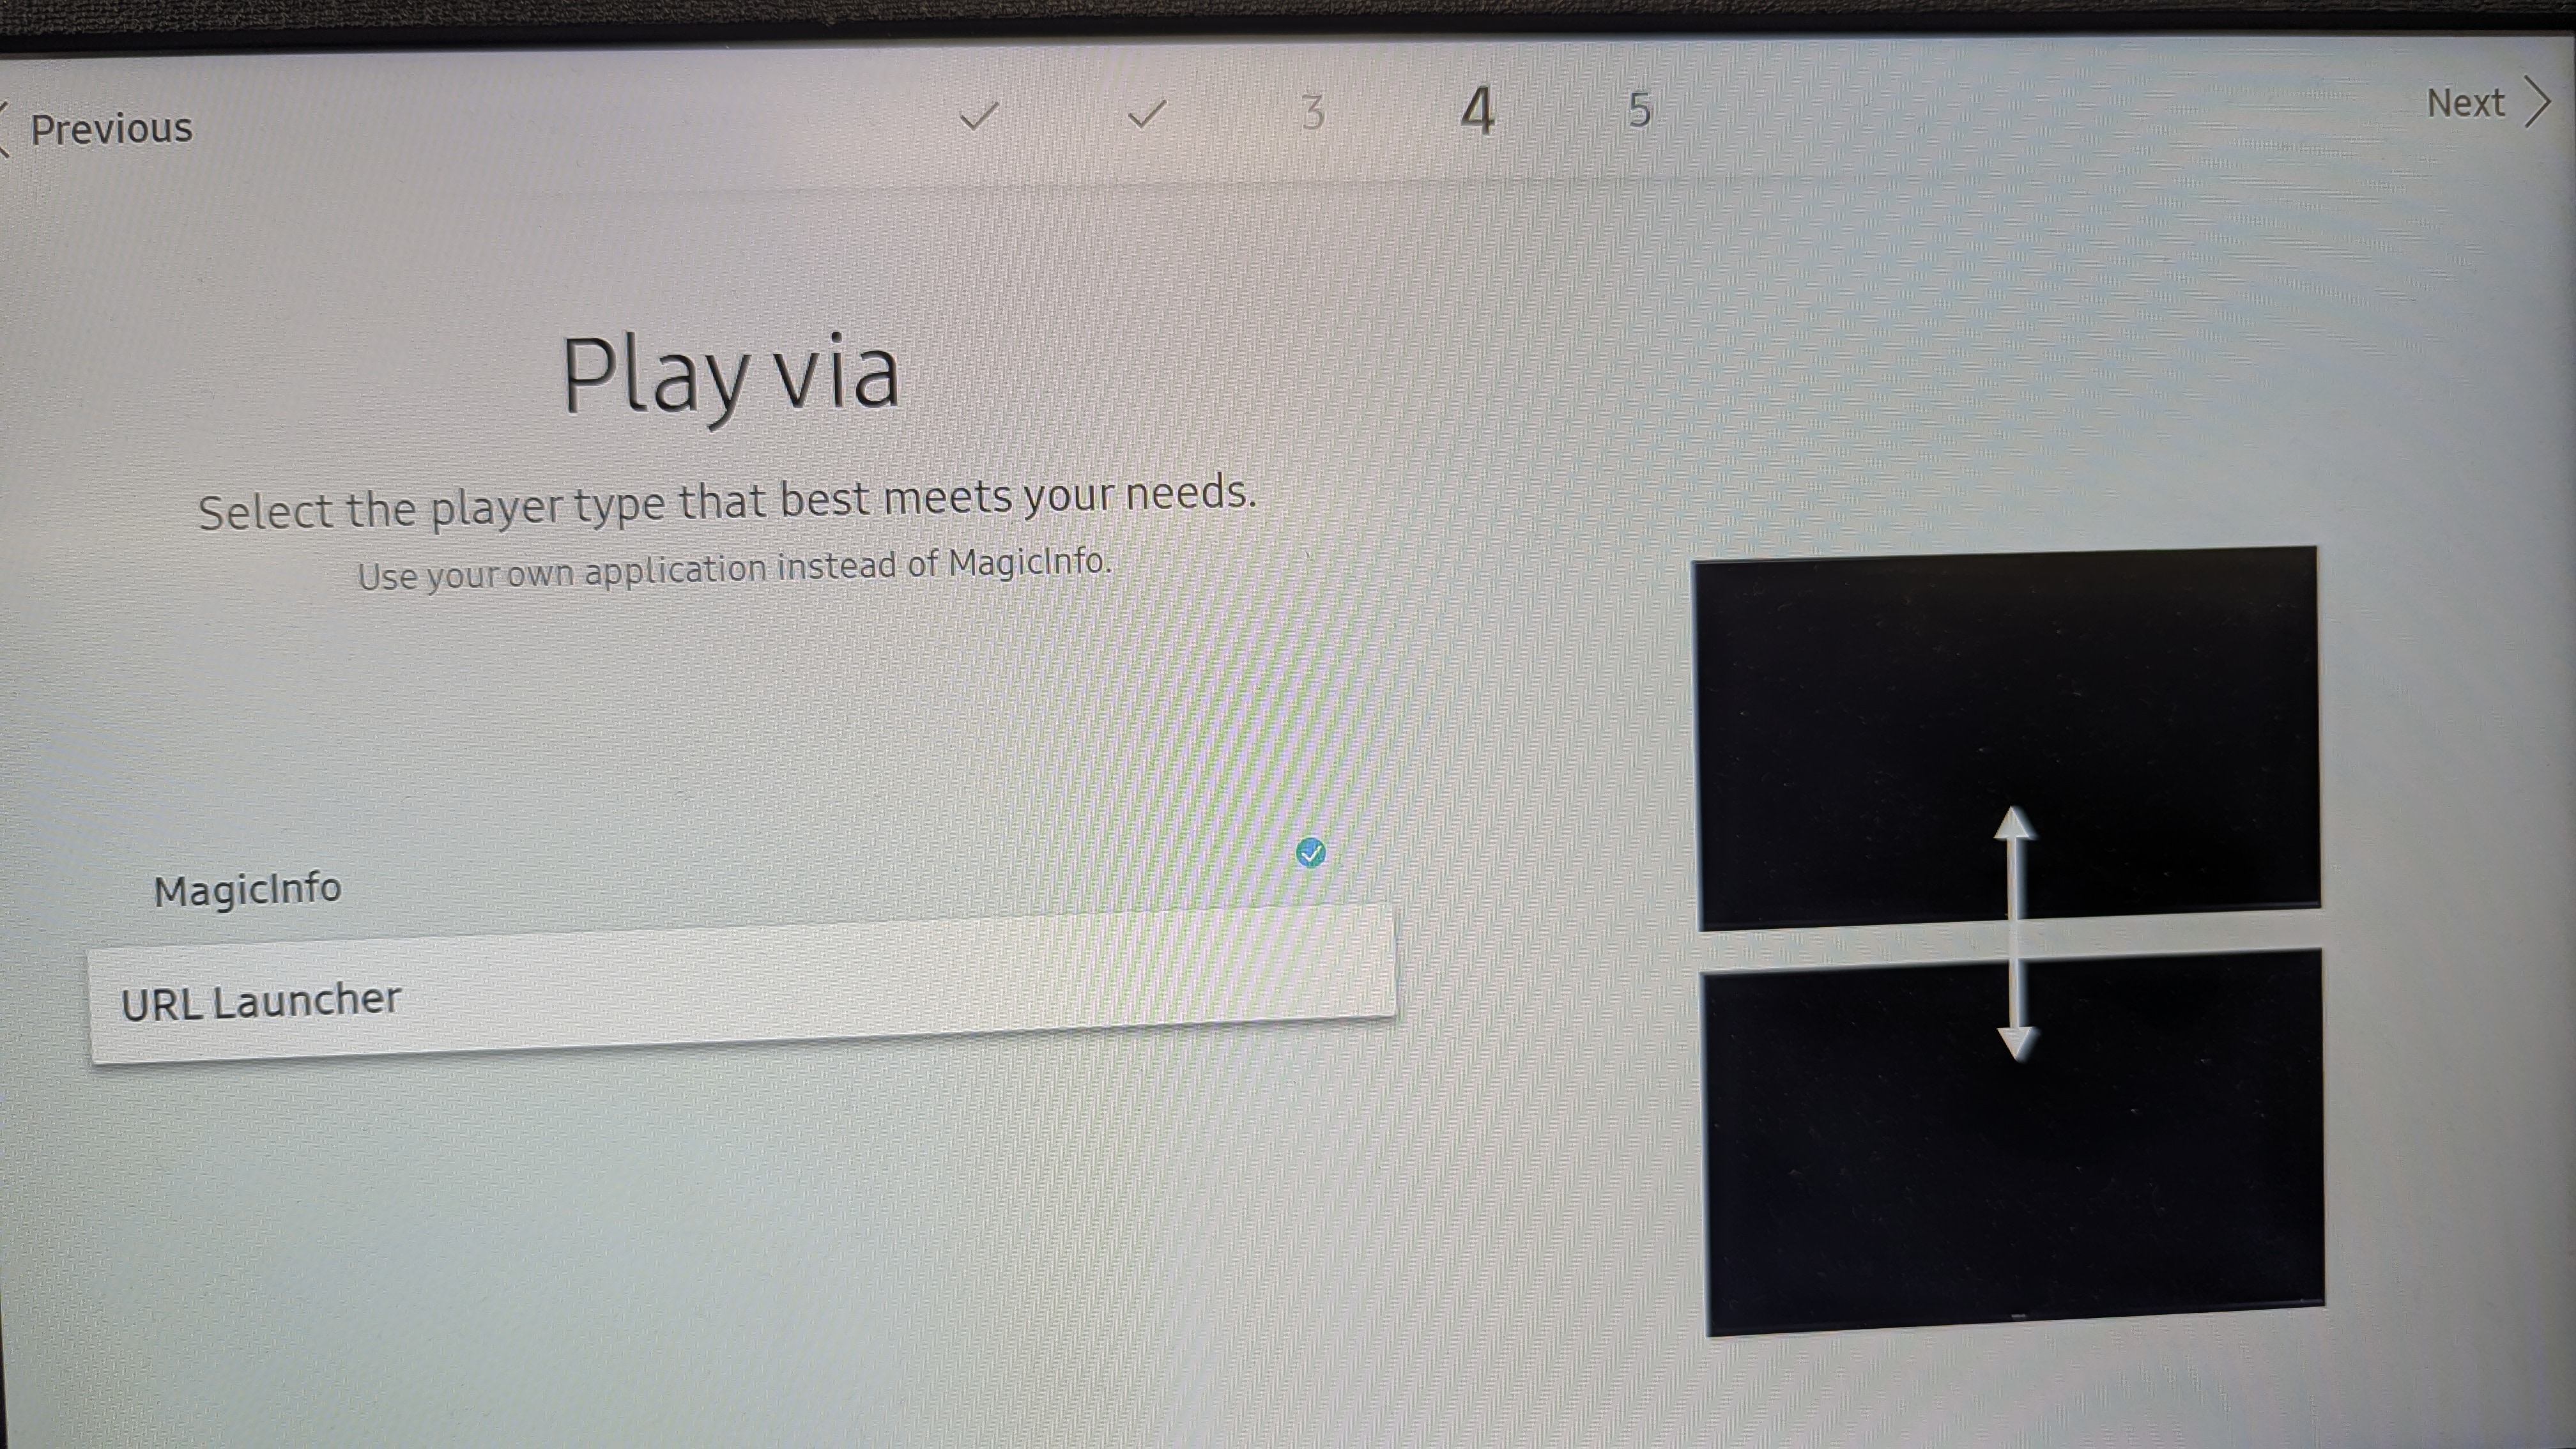
Press Menu → System → Play via
Select URL Launcher
Press HOME on IR remote control
Go to URL Launcher Settings → URL address
Fill in following URL and confirm
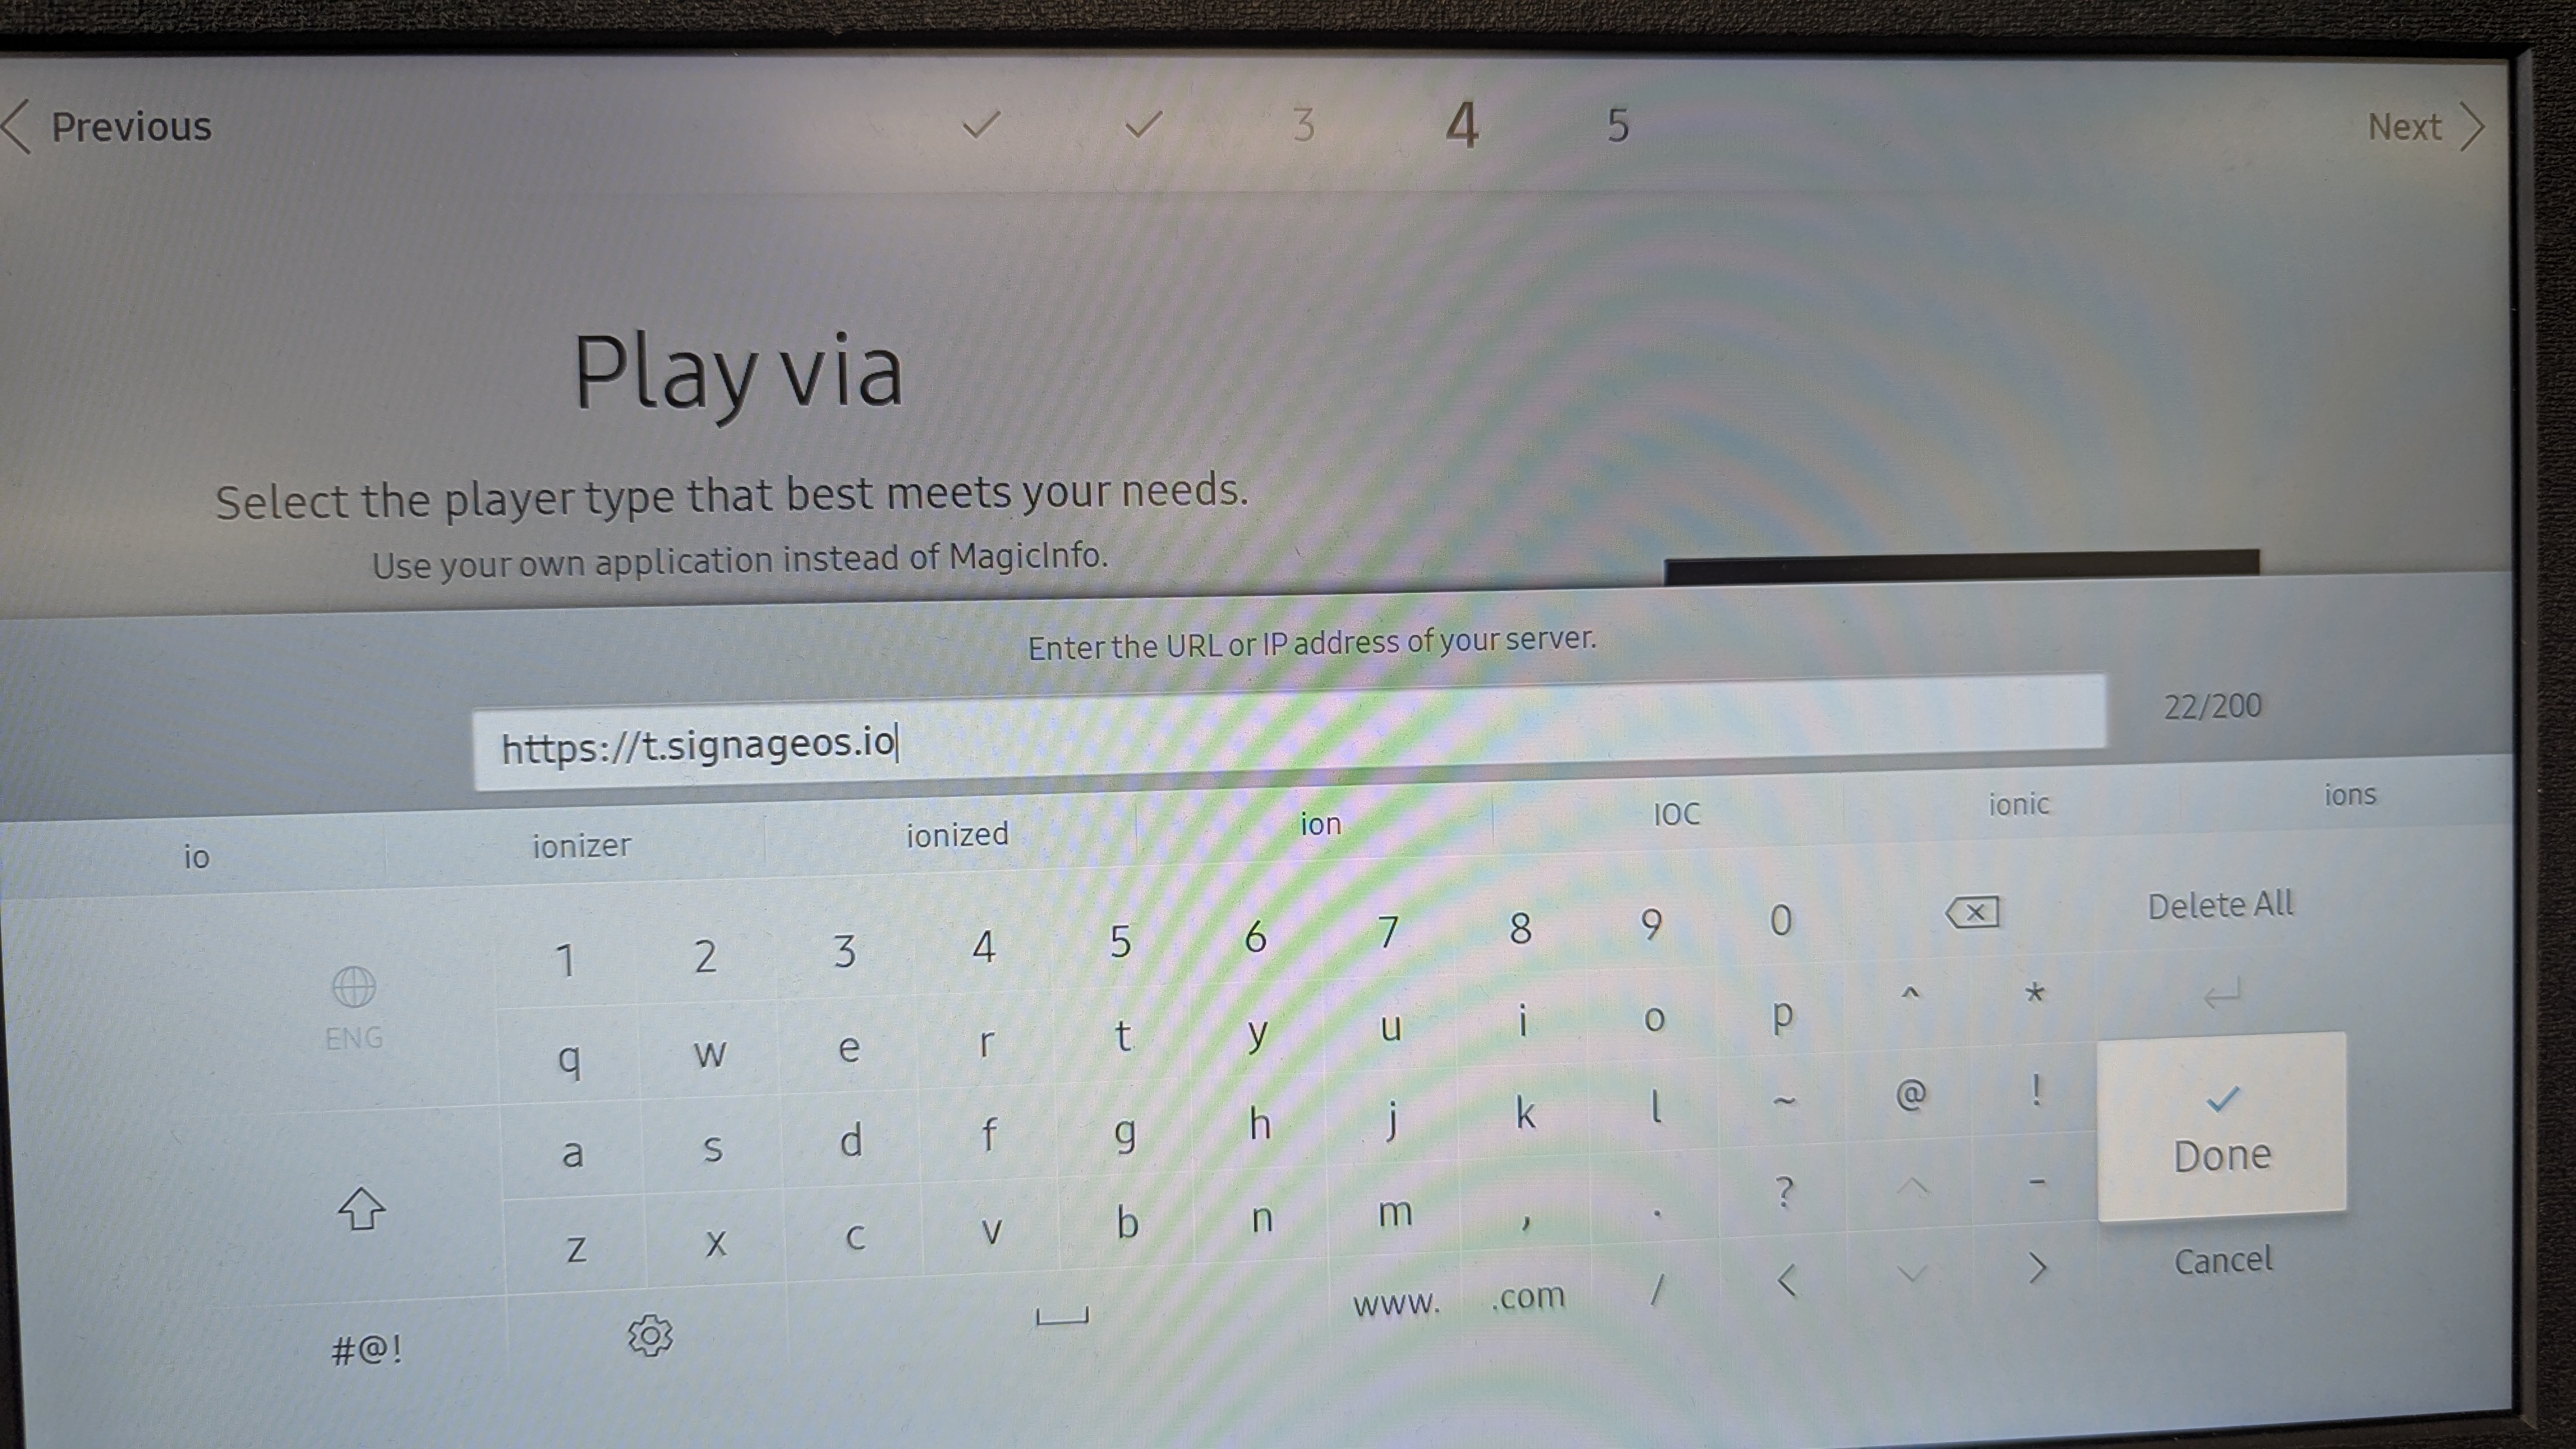 Link to the latest Samsung Tizen Core App:
https://t.signageos.ioTizen Core App link https://t.signageos.io doesn’t work directly in the browser. It works just and only on the Tizen device where it looks for specific xml file. It’s the way the Tizen devices are ‘recognizing’ the installation file.
Link to the latest Samsung Tizen Core App:
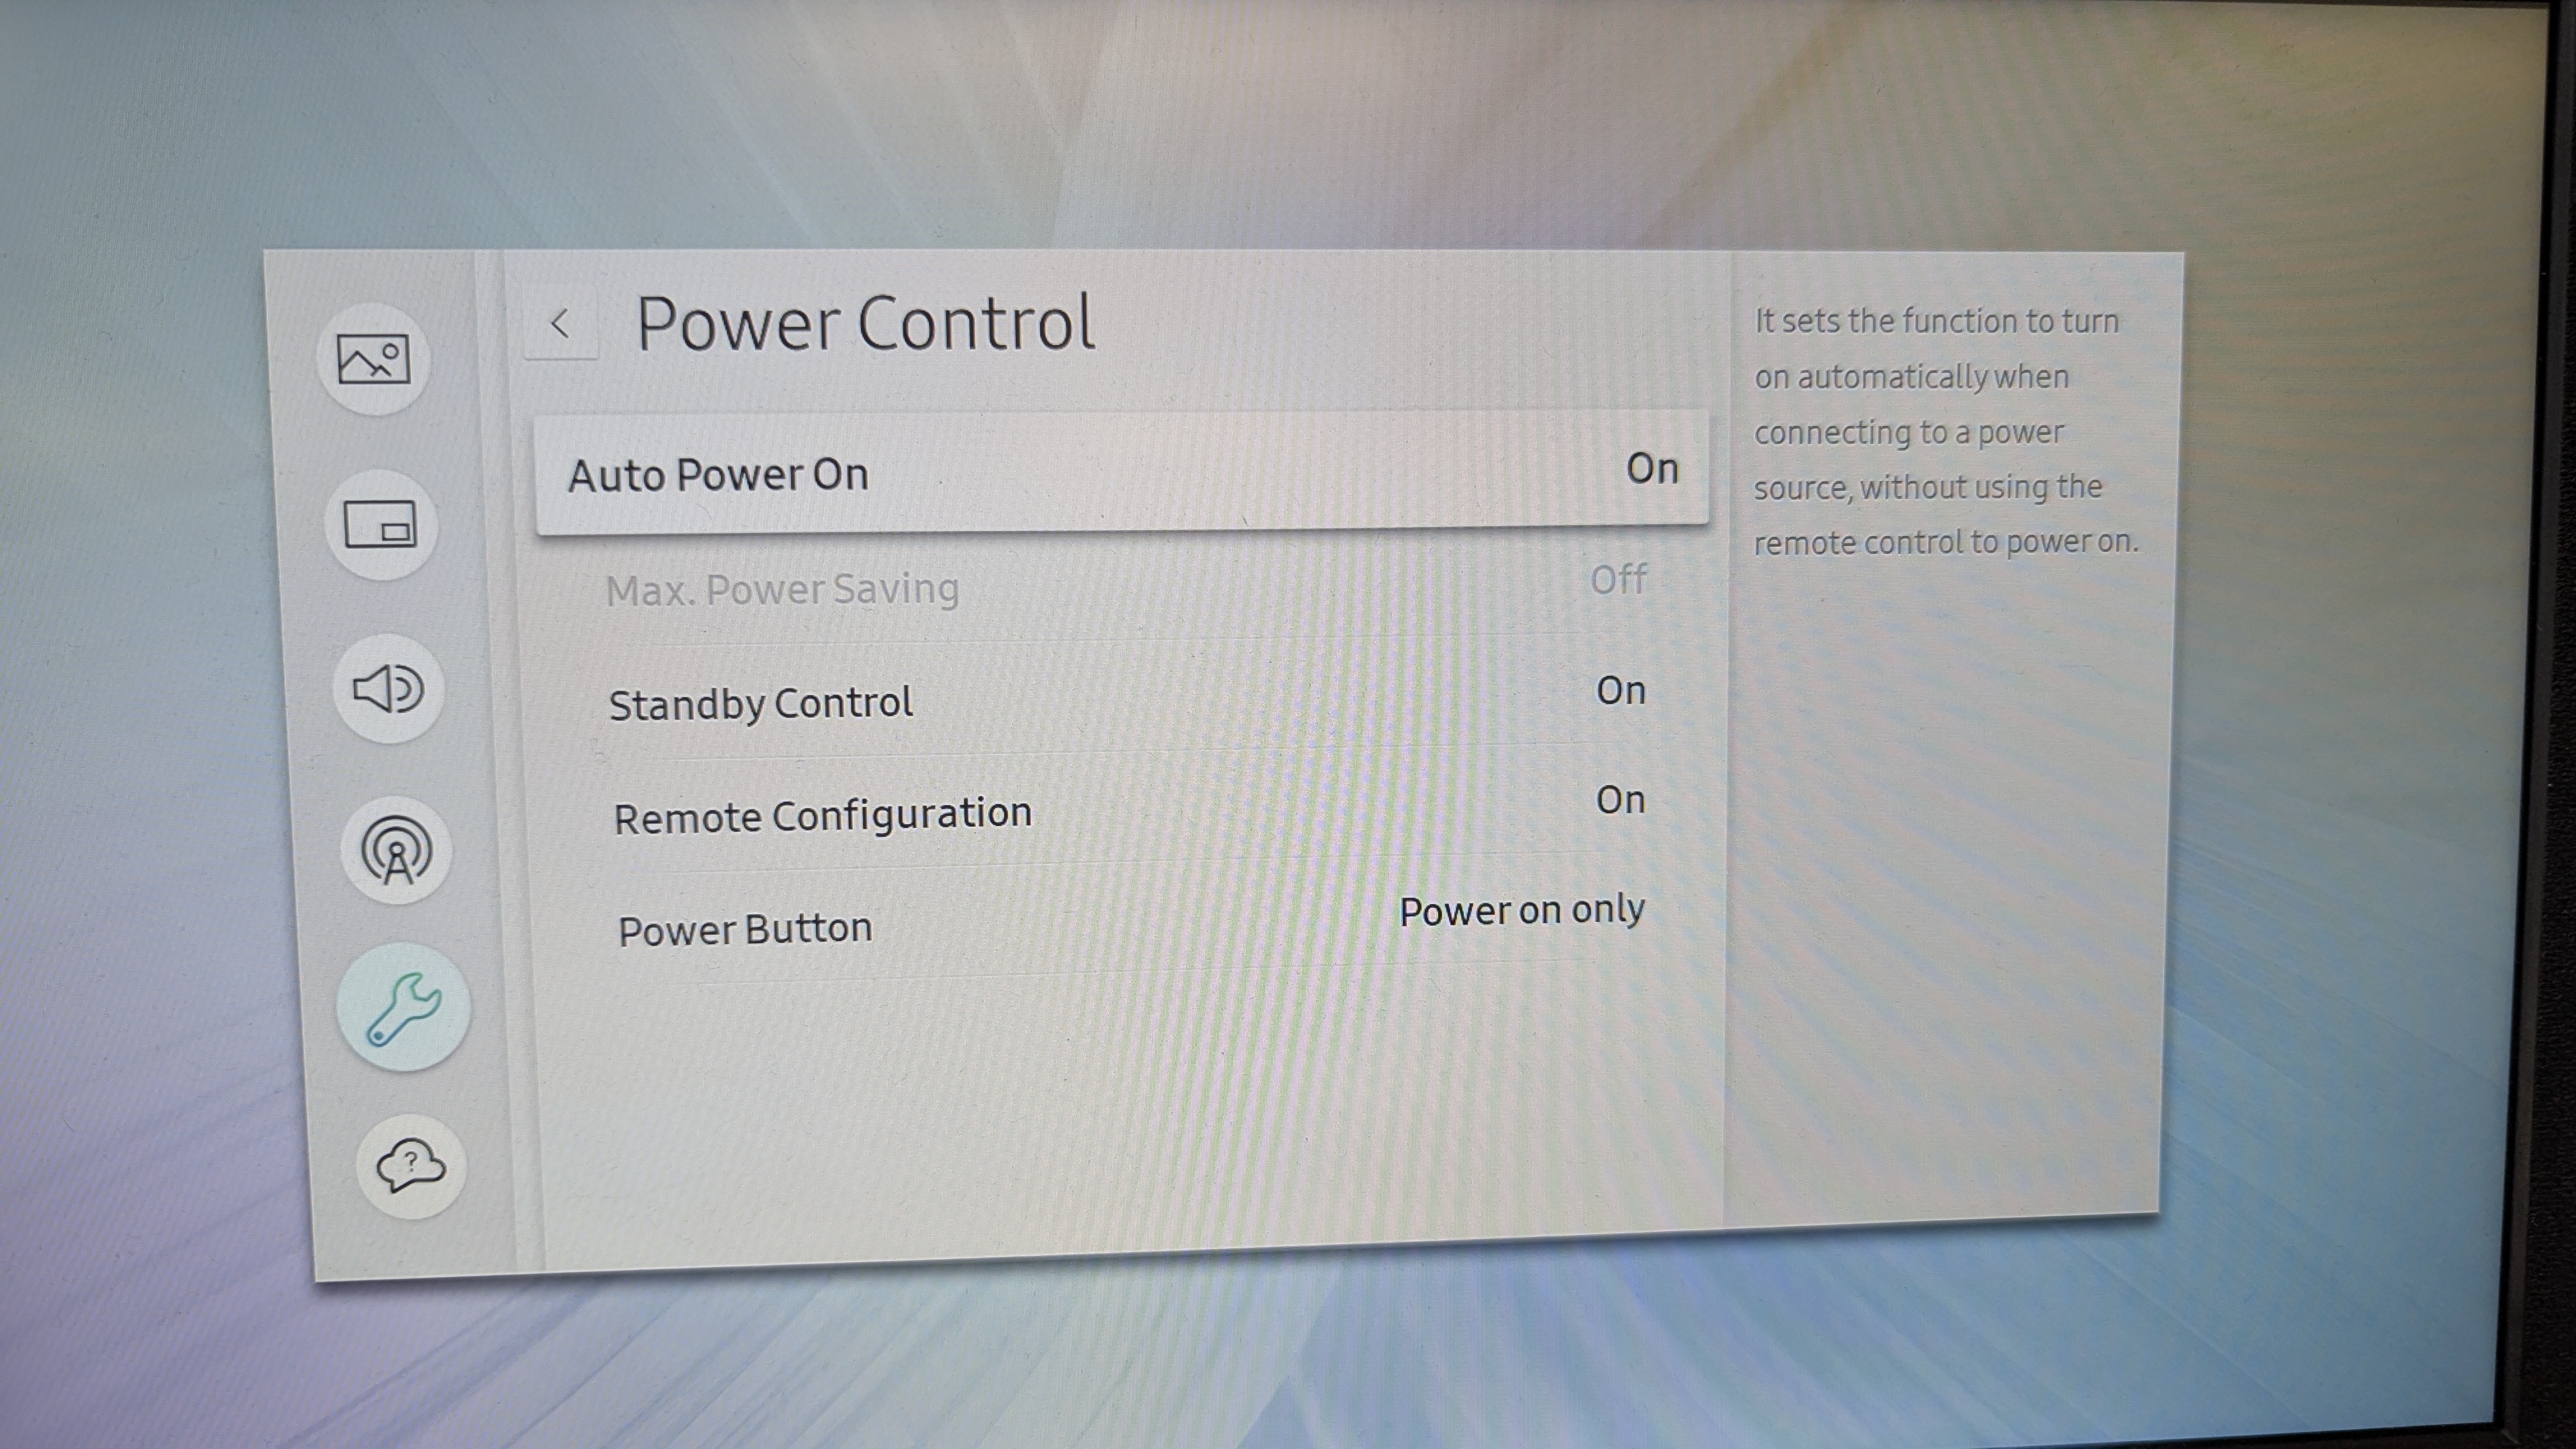
https://t.signageos.ioTizen Core App link https://t.signageos.io doesn’t work directly in the browser. It works just and only on the Tizen device where it looks for specific xml file. It’s the way the Tizen devices are ‘recognizing’ the installation file.Go to Menu – System – Power control – Standby Control → select On
Go to Menu – System – Power control – Auto Power On → select On
Select HOME and press first button – URL LAUNCHER

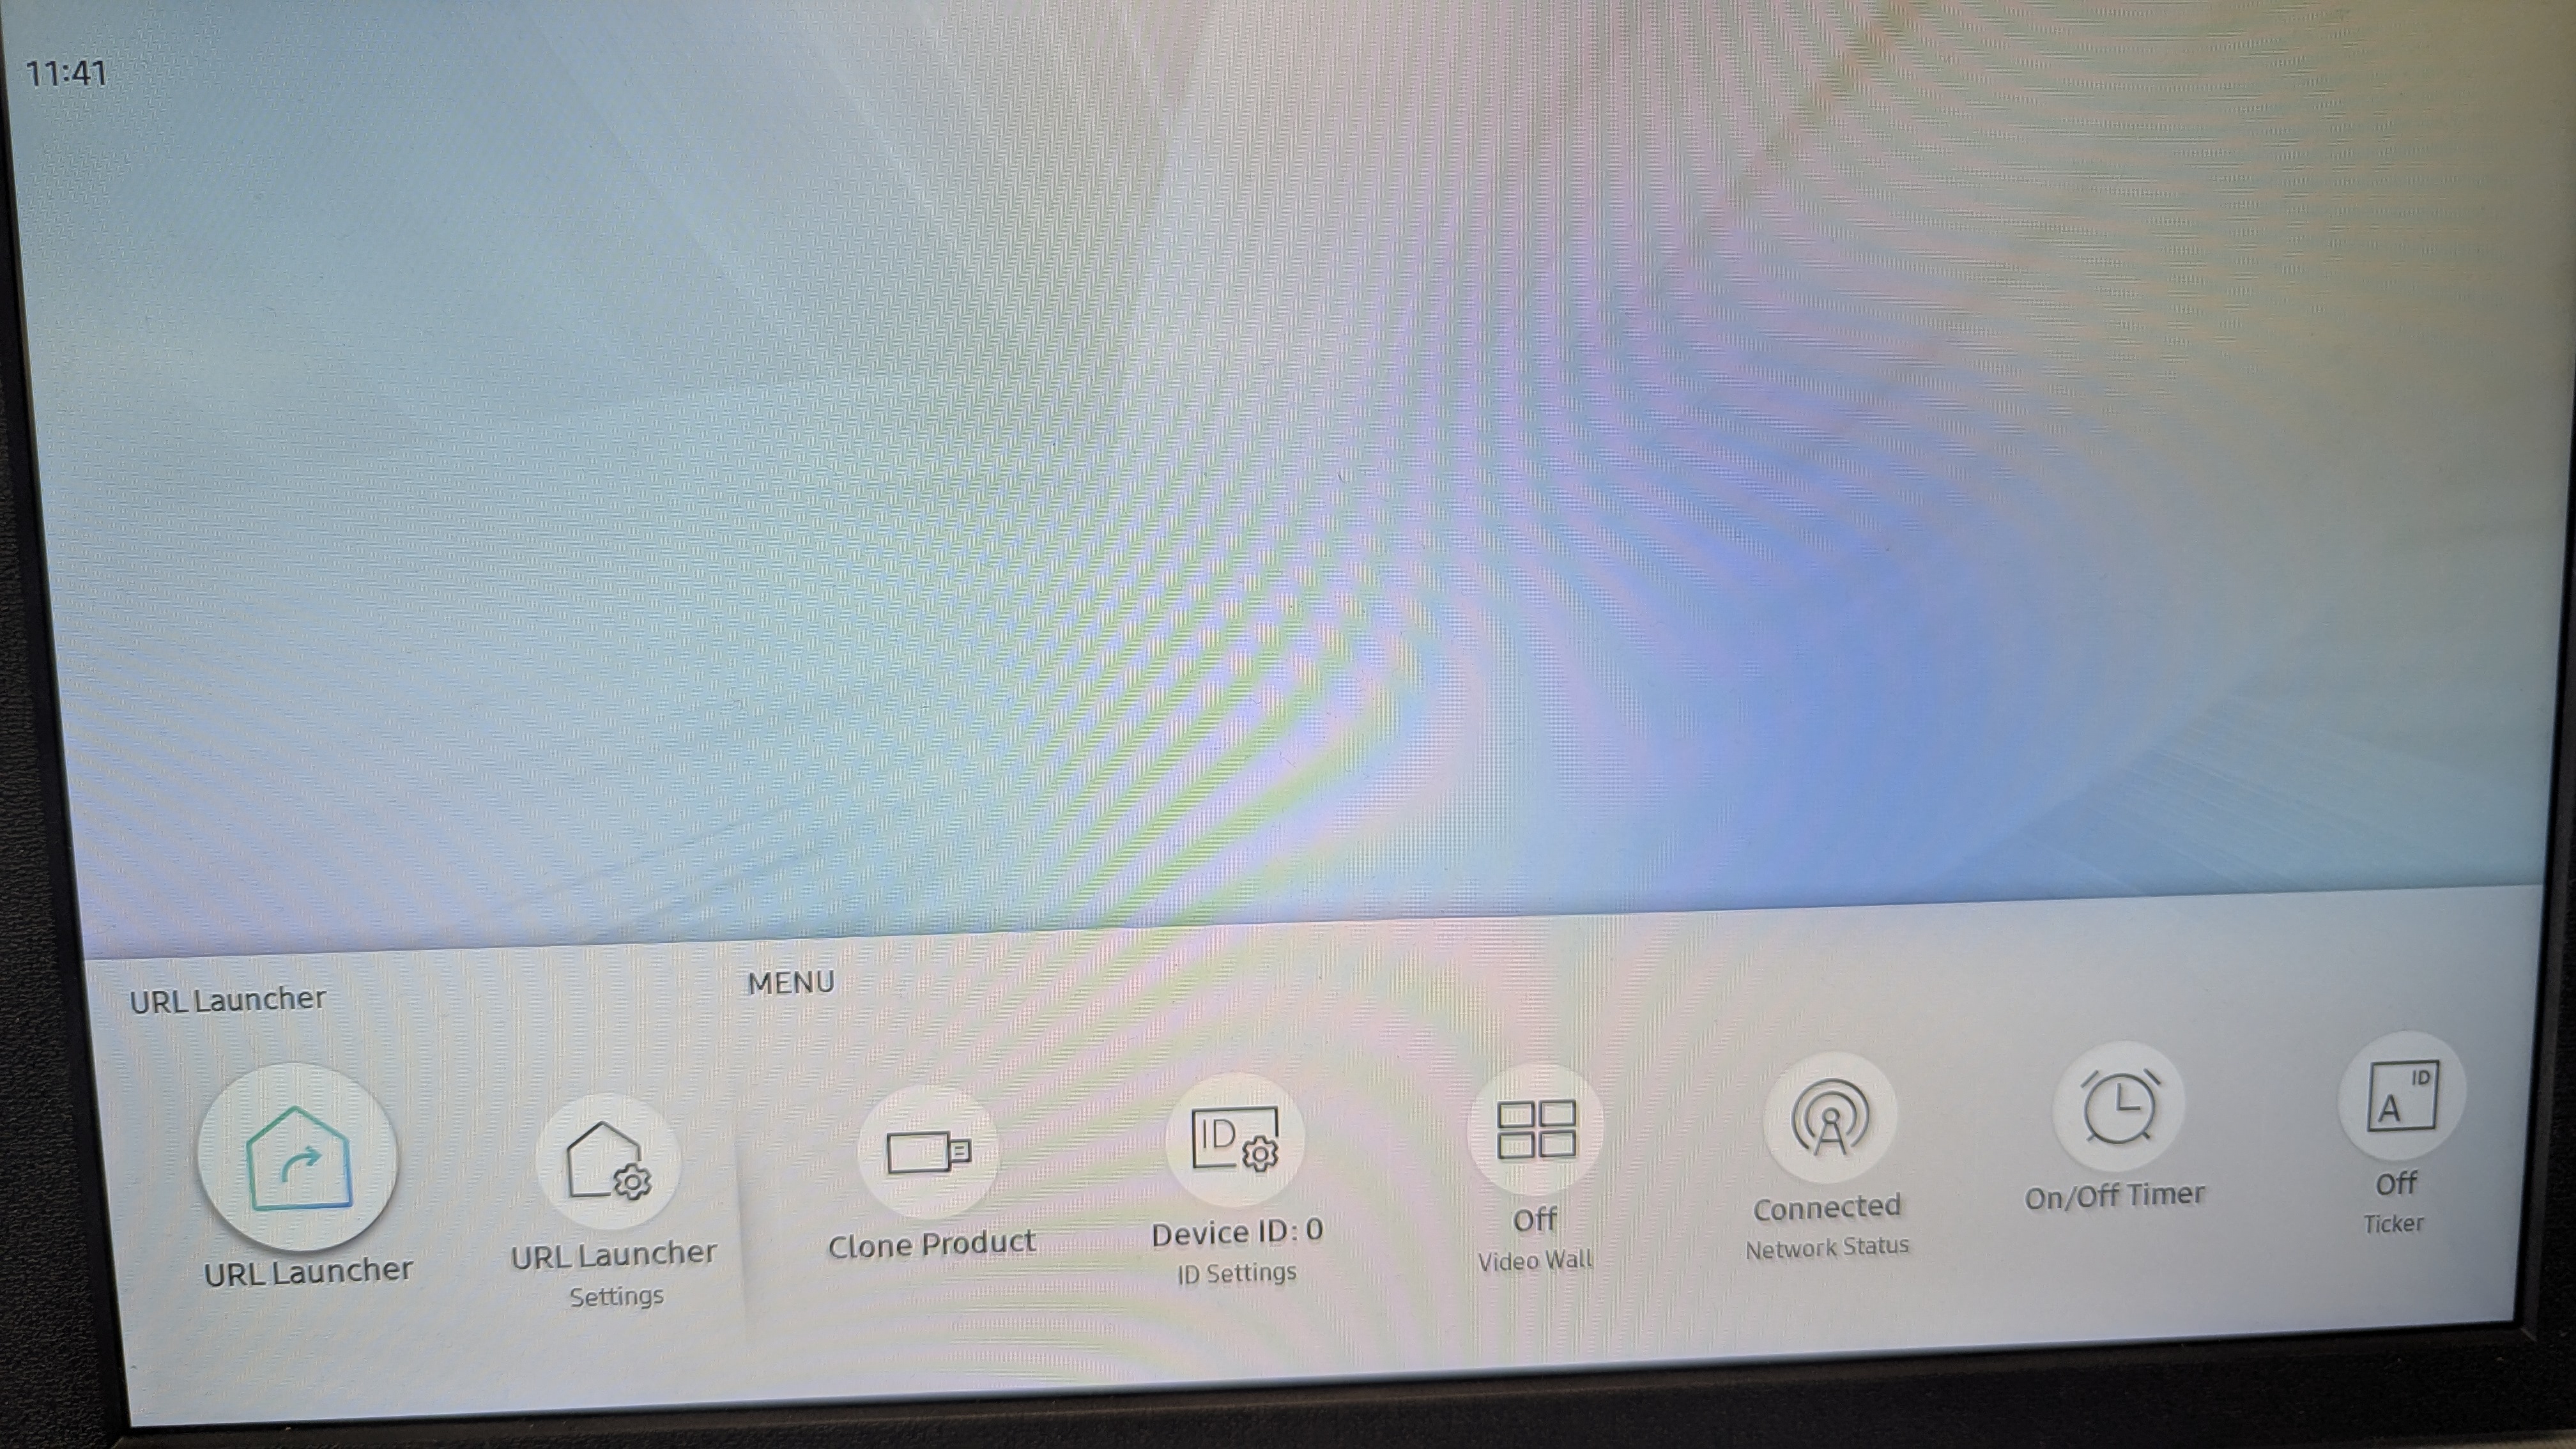 At this point, display connects to the Internet and download signageOS Core App for Tizen. Then it reboots itself and starts the signageOS App.
Samsung Tizen 6.5 (QMB, QBB)
Samsung Tizen 6.5 (QMB, QBB)
Installation steps
Provisioning of newer Tizen models is very similar to the provisioning of older devices. Here are the individual steps on how to provision these and higher models.Rest of this guide assumes you are provisioning a new/freshly reseted device.Firstly device must be correctly setup
Reading and accepting privacy agreement of Smart Signage is at your own discretion and will not affect the functionality of sOS software
Select your Display Orientation
After inputting and confirming the address you will be asked about Connection to RM Server
You will be prompted to set Date & Time during your initial setup
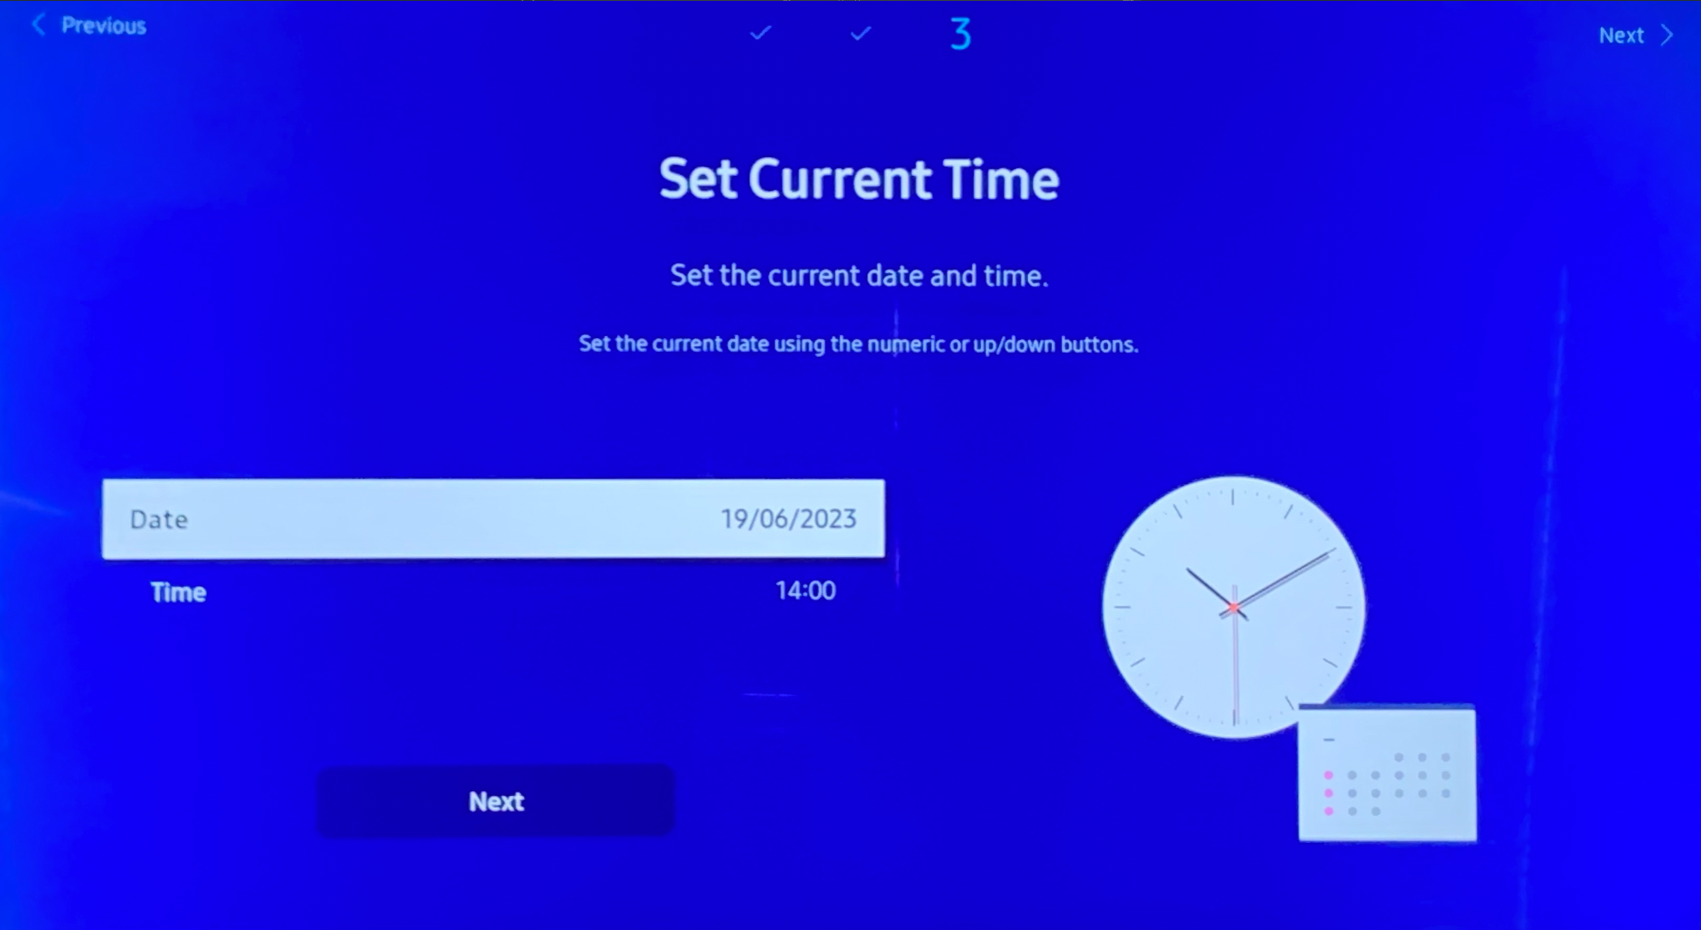 For later changes you can navigate to Menu → System → Time and make any necessary adjustments.
If you followed all the steps in this guide your initial setup should be finished
Samsung Tizen 7.0 (QBC, QHC, QMC)
Samsung Tizen 7.0 (QBC, QHC, QMC)
Installation steps
Switch display to HDMI (press Source button and select HDMI)
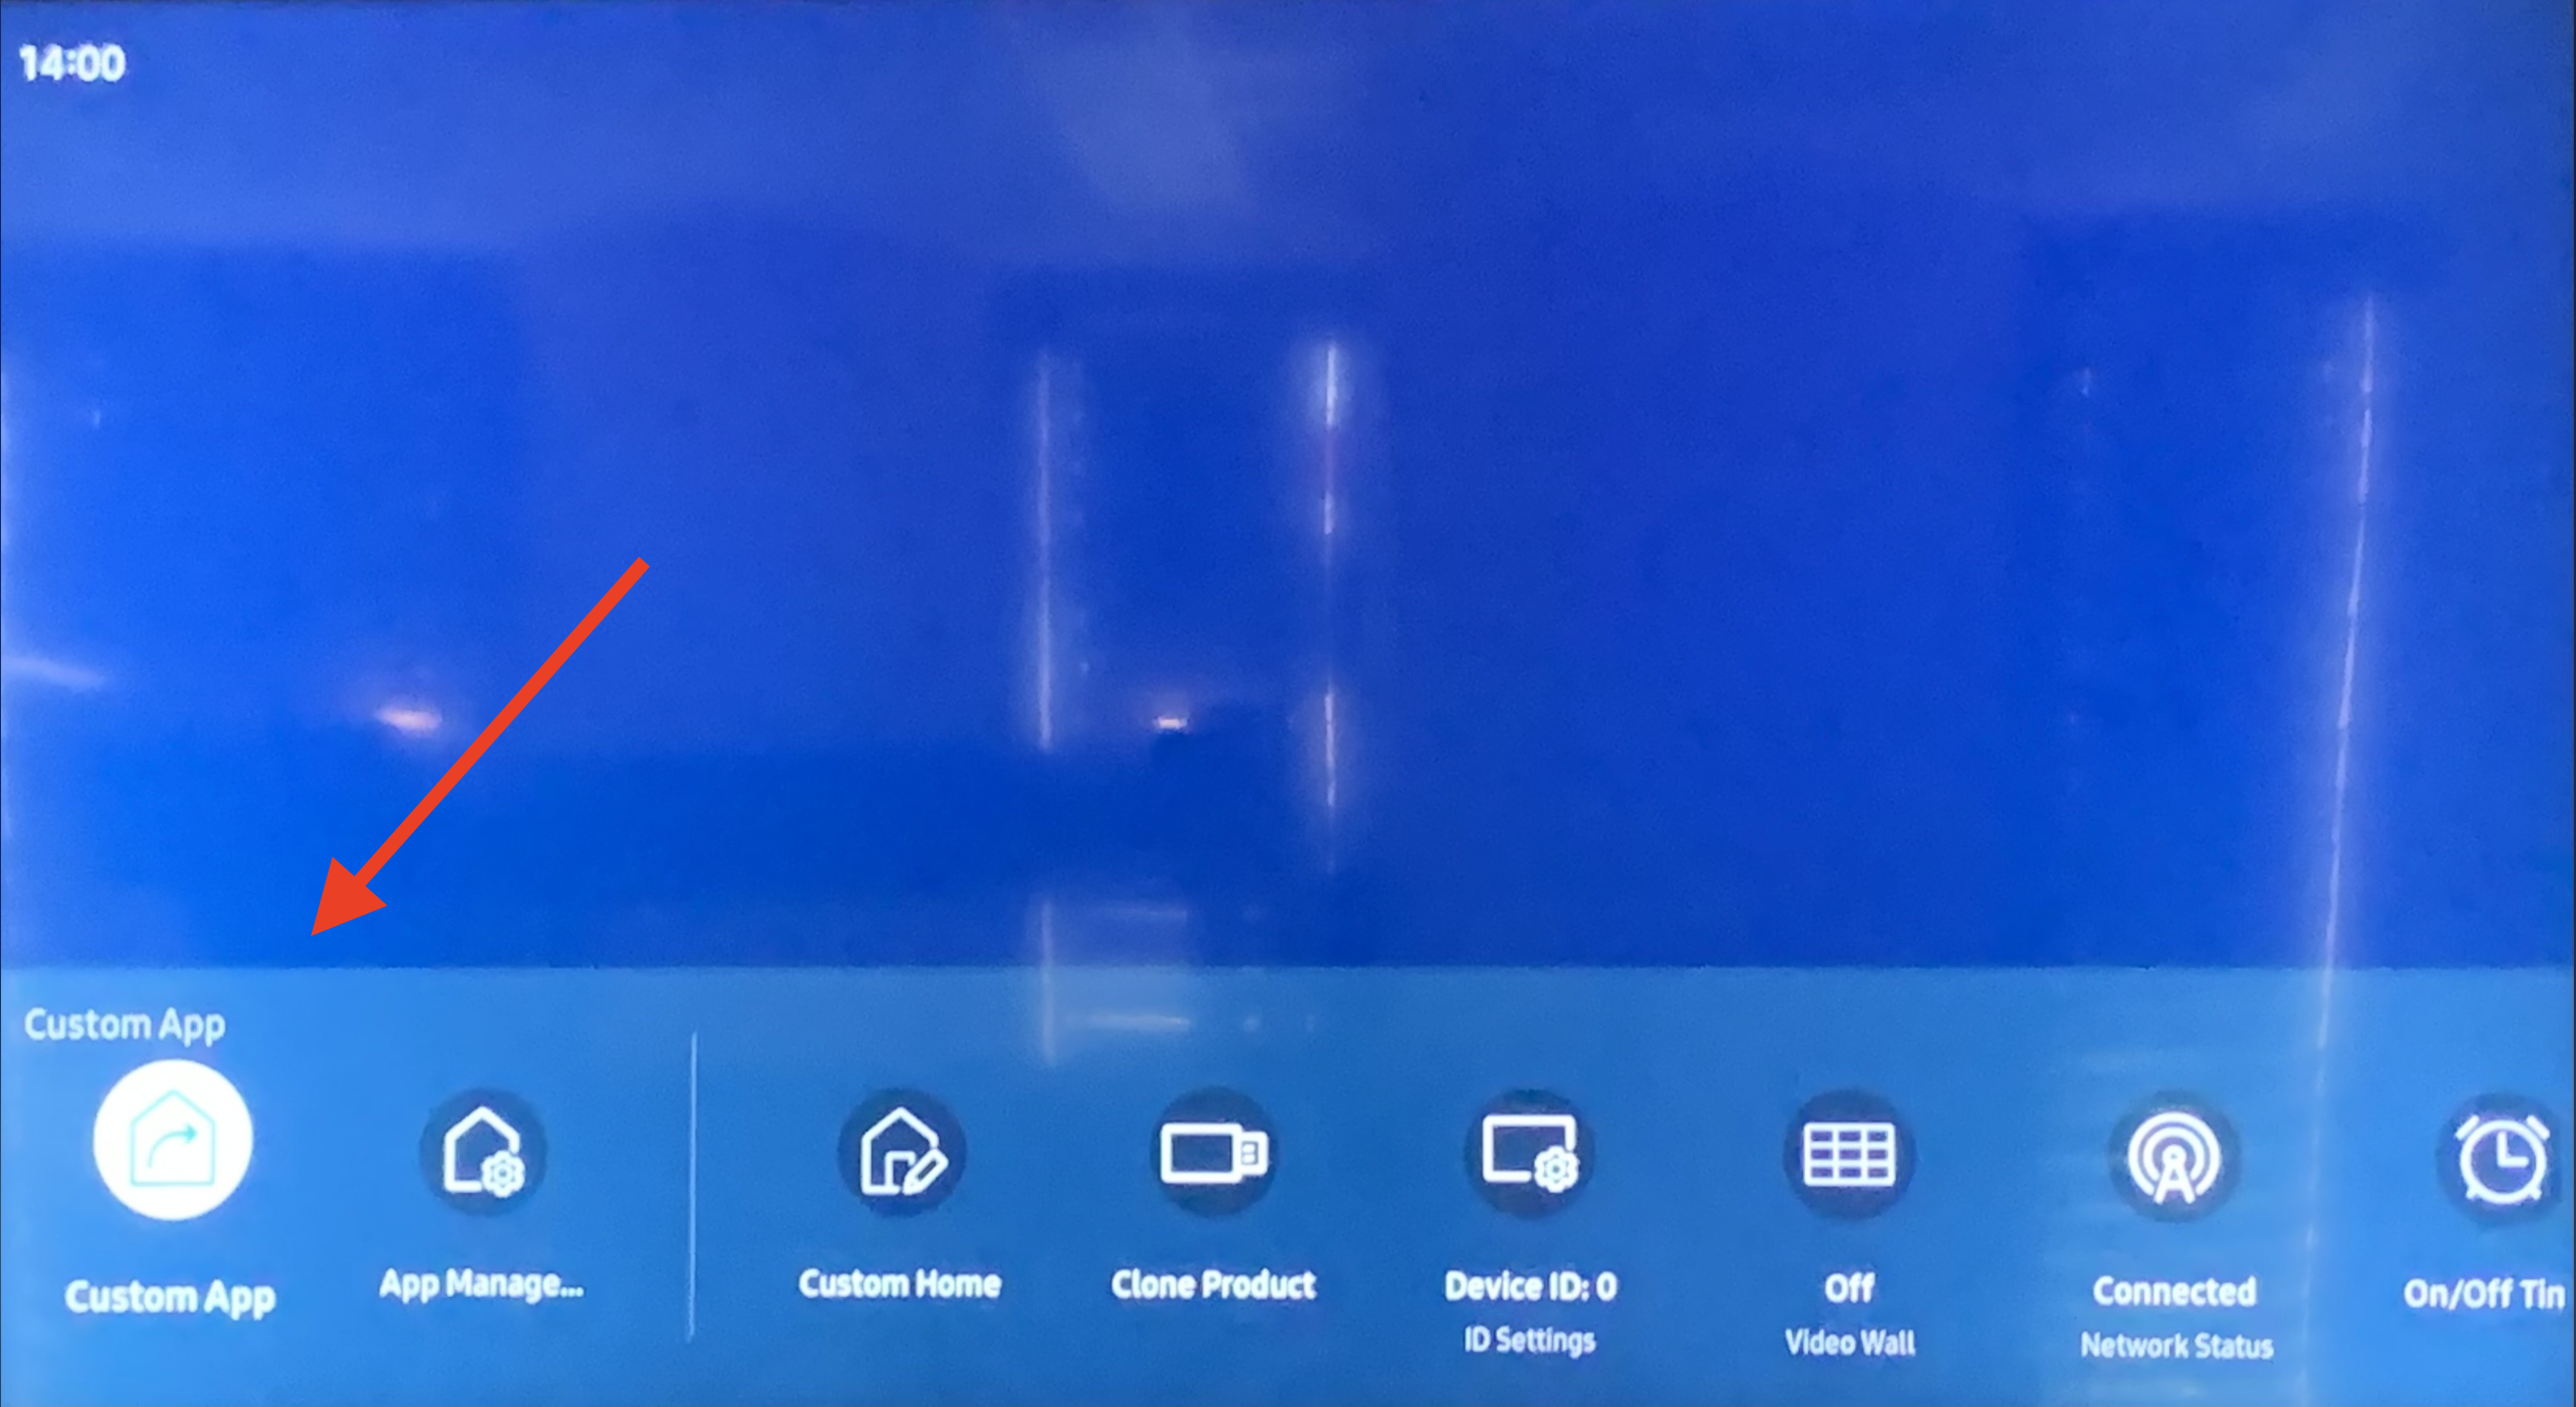
Open the HOME menu (press HOME on the IR Remote control)
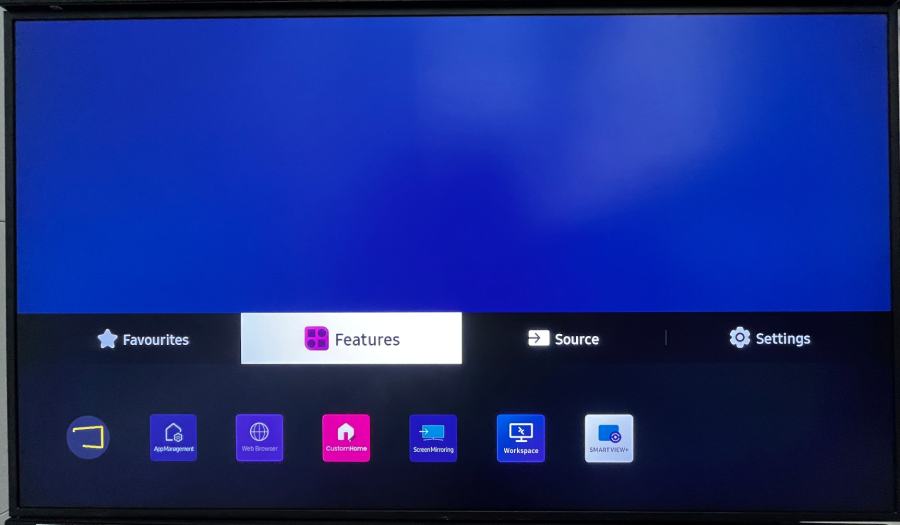
Navigate to the Features section and select App Management icon
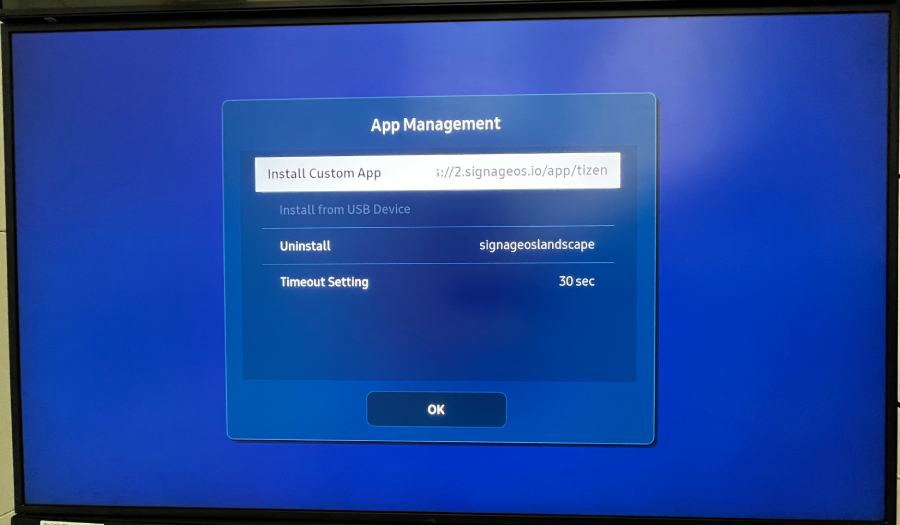
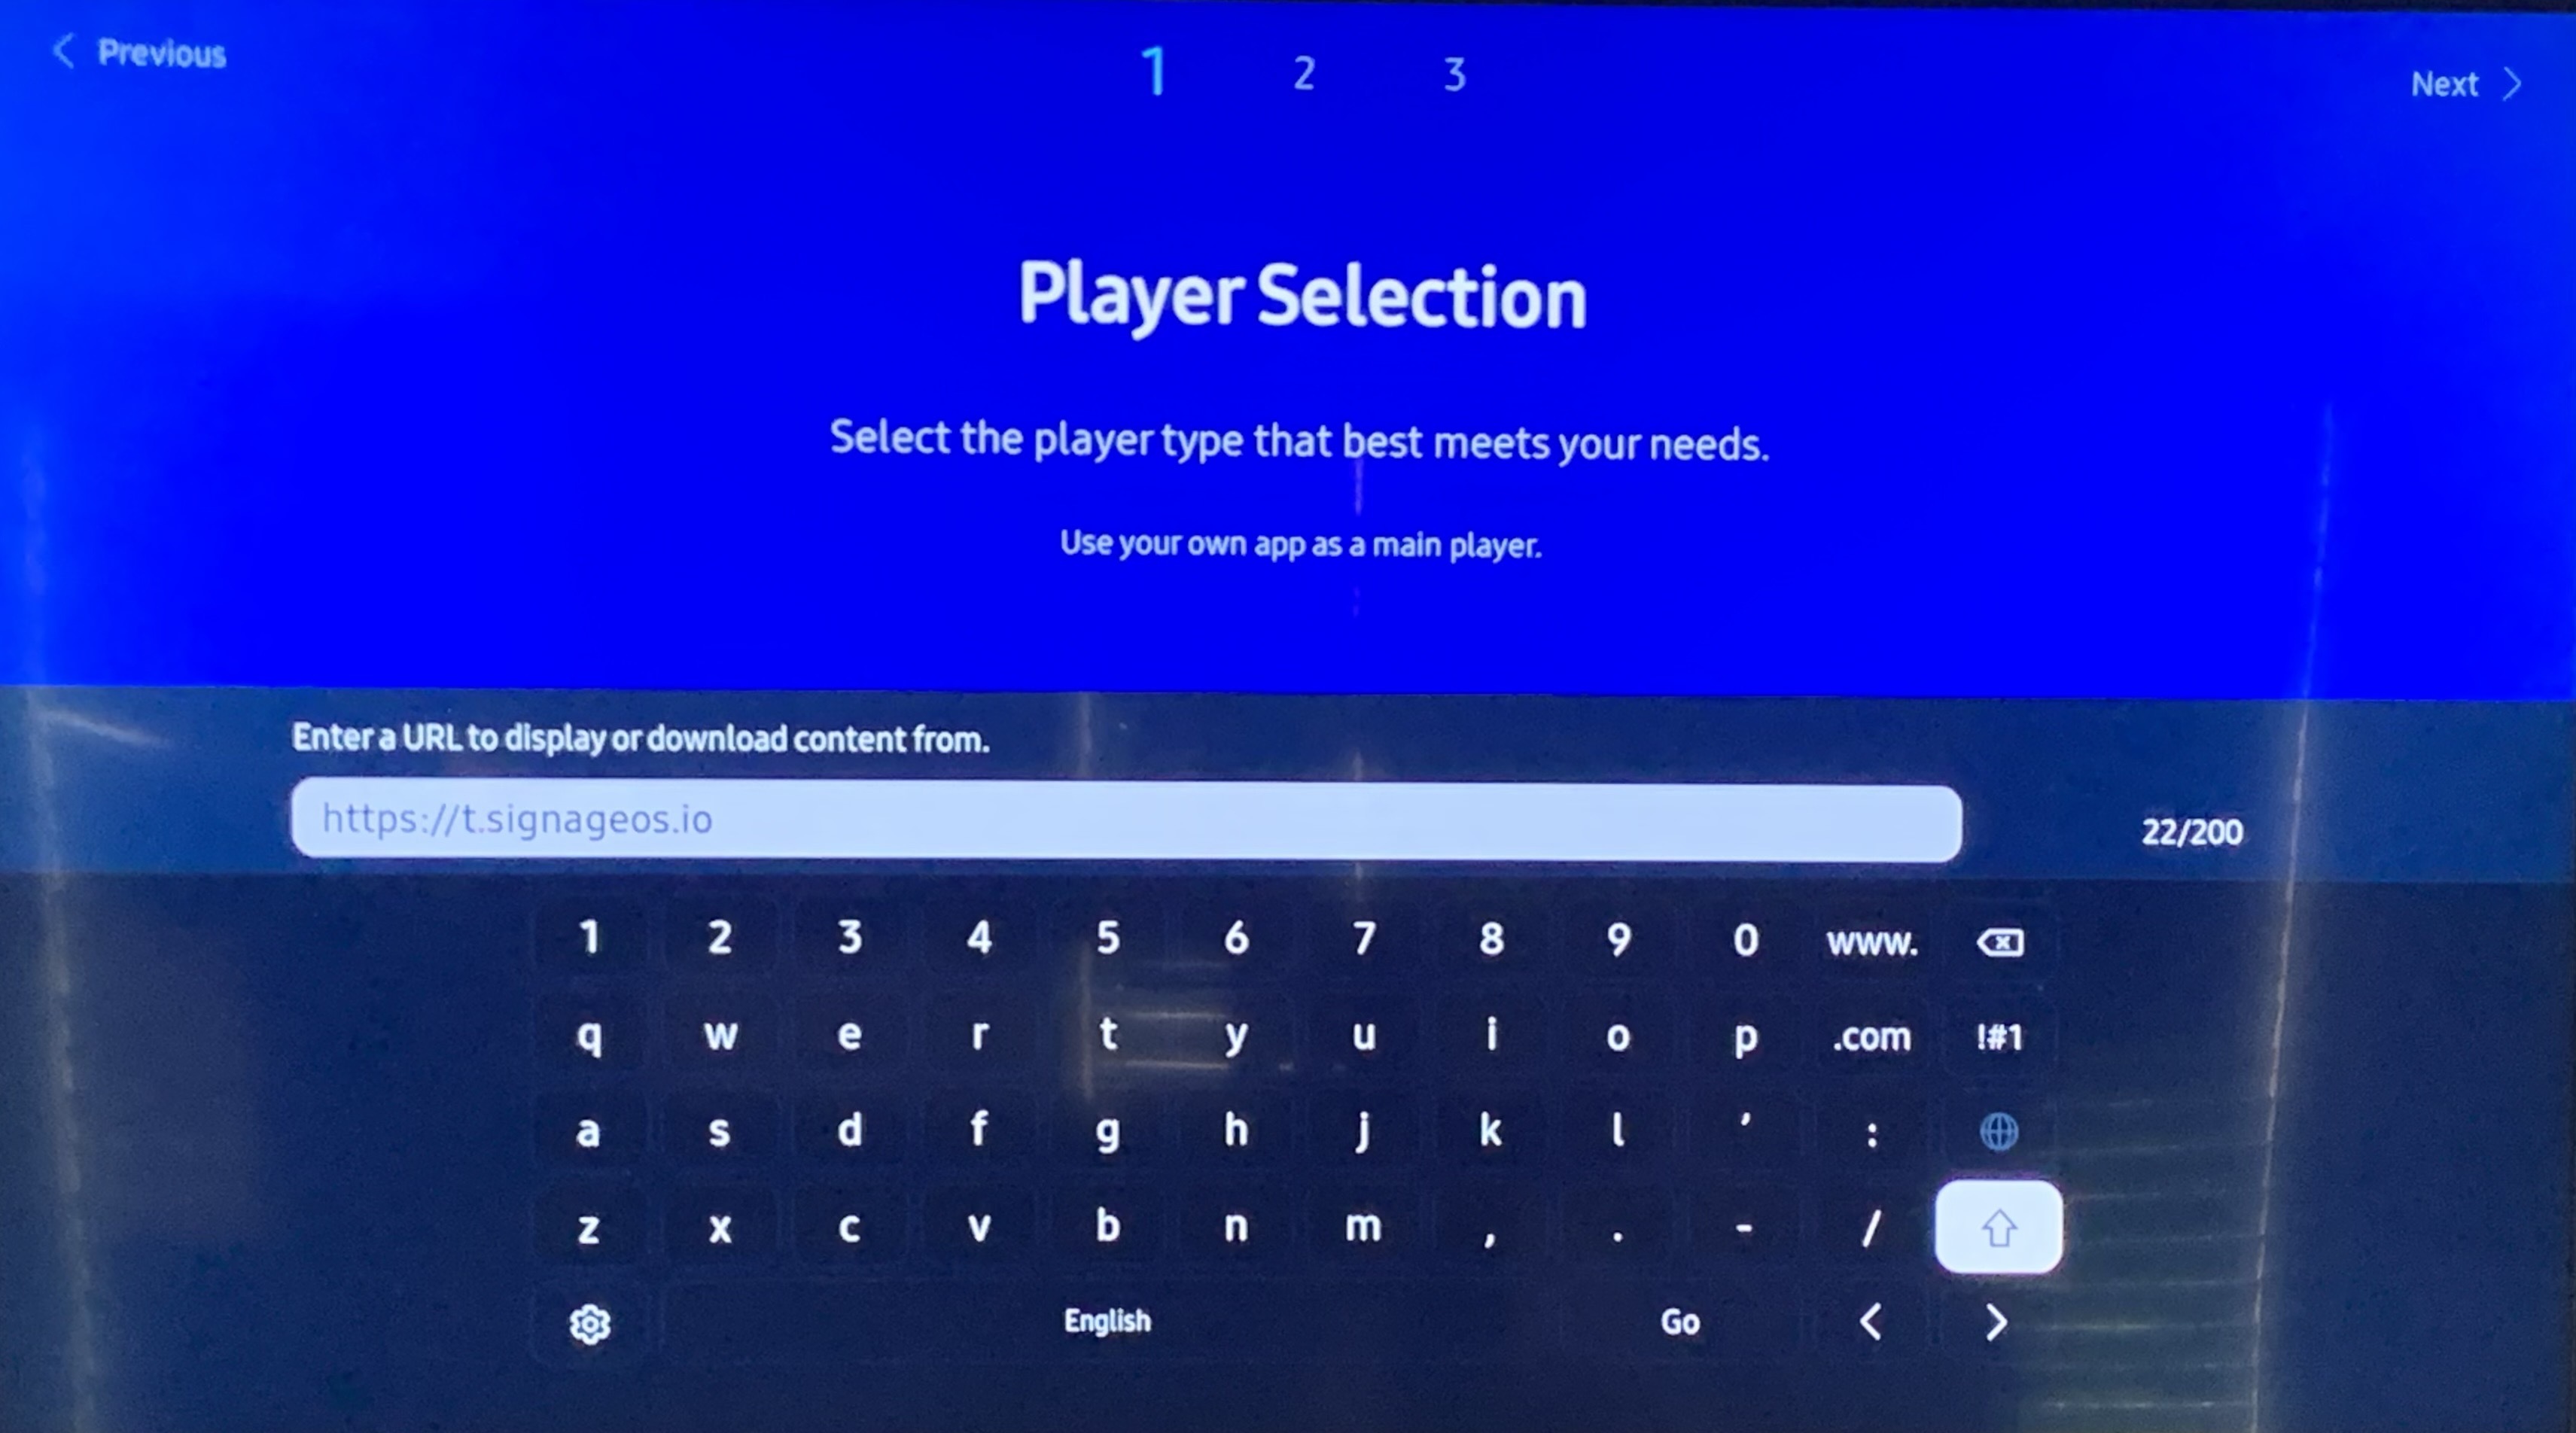
You will be prompted to input the URL to download the Custom App
Confirm and reboot the display